Barbecuing With Gwyneth

If you didn’t know, the latest issue of Bon Appetit ditched food for its cover shot in favor of a big picture of Gwyneth Paltrow.  A controversial move that has apparently ticked off many readers from what I’ve seen online.  Personally, I wasn’t all that surprised since I knew that BA had a new editor and was clearly looking to move in a different direction, but I can’t say I was exactly excited either.  I was curious though and happened to have all the ingredients on hand to try out one of her recipes, with some modifications of course.

The verdict.  Pretty tasty, but definitely not mind blowing.  I would definitely make this again, as it is perfect for summer patio dining and my husband loved it.

Grilled Chicken with Peach Barbecue Sauce Adapted from June 2011 Bon Appetit (Serves 3-4)

  • 2 peaches *peeled and chopped (1 cup)
  • 1/2 cup ketchup
  • 2 tablespoons lemon juice (fresh)
  • 2 medium garlic gloves, minced
  • 1 1/2 teaspoons adobo sauce from canned chipotles in adobo (or she alternately recommends 1 teaspoon of soy sauce)
  • Chicken–Gwyneth used 4 boneless, skinless, organic breasts, but it was boneless, skinless thighs for us seasoned with salt, pepper, and a drizzle of extra virgin olive oil (My package of thighs turned out to be more of a bunch of thigh tenders in odd shapes, so this wasn’t the prettiest presentation…)
Combine the peaches, ketchup, lemon juice, garlic, and adobo sauce in a saucepan. Bring to a boil, then reduce heat and let this simmer for about ten minutes while stirring regularly.  Remove from heat.  Gwyneth pureed her sauce, but I decided to keep mine chunky. I lightly seasoned the sauce with salt and pepper, but it really didn’t need much.
Once the sauce has cooled, she suggests using half of it for marinating the chicken for 20 minutes at room temperature or for up to 8 hours in the refrigerator.  I did mine for about 30 minutes in the fridge and then let it sit out for another 30 minutes at room temperature.  (If I made this again, I’d definitely make the sauce the night before to reduce my time in the kitchen the day of grilling.)
I grilled the chicken on medium-high heat, brushing with a bit of the sauce during cooking and then served a dollop of sauce over the chicken.
The sweetness of the peaches melded beautifully with the smokiness of the chipotle, so I don’t think the soy sauce alternate is in my future.
Thanks for recipe Gwyneth.  I’m still not sure how I feel about the new direction of Bon Appetit, but as a fellow home cook, I am not going to bash your culinary chops.  In fact, hey, I wouldn’t mind being on the cover of BA either!
*You can easily peel peaches by making a few cuts into the skin and blanching them in boiling water for 30-40 seconds.  Despite knowing this, I did a rough peeling job so I could snack on the fleshy, skin.

Save your buns!

Alright…so as Padma from Top Chef would say, this post is a bit pedestrian, but I thought it was worth sharing after the holiday weekend.  I hate letting good bread go to waste, so I’m always using it up to make crostini, french toast, or the occasional crouton.  Buns, of the hamburger and hot dog variety, always seem pop up as leftovers during the grilling season.  I don’t place much value on these buns, so I tend to throw them out when they’re past their prime.  I had a few hamburger buns leftover and thought I’d see how they fared converted to a crouton.  Well, they worked great!  The light texture of the bun created a light and crispy crouton worthy of topping salads and soups, but also one that’s easy to find yourself snacking away on.

So, the next time you’ve got some extra buns…cube them, toss them with some dried herbs, a little garlic, and some butter and/or oil…and you’ll be on your way to a nice little crouton. Bake on low (300-ish) heat until golden and then, voila.  

Try it.  If you don’t like them, hey, you were probably going to throw out those buns anyway!

Spicing up Chicken with Harissa

There were chicken breasts in the fridge and the weather was dry, so doing grilled chicken for dinner seemed like a good idea.   While my first inclination was to just throw on some garlic and herbs, I decided I was looking for something a little different.  After rummaging through the pantry, I found a small can of harissa that I thought would be the cure for my boring chicken.  Harissa is a hot chili paste if you’re not familiar.  This is by no means an expertly perfected recipe, but it was easy and perhaps it will inspire you to try out some new flavors in the kitchen.

For the chicken, I simply went with the following:

Dry chicken breasts.
Season with salt and pepper.
Drizzle with a little olive oil.
Spread harissa onto breasts.  I would use a teaspoon per piece as a guideline.  I used more of a heaping teaspoon each for pleasantly spicy chicken, but you can go either way depending on preference.  I cooked these on the grill, but these could be done on the stove or in the oven.

I smeared the harissa onto the chicken before starting the grill so that it would penetrate the chicken a bit.  In the meantime, I also started concocting a garnish for the meat.  This lemon cilantro relish provided great balance to the spiciness of the chicken.

Cilantro Lemon Relish (Enough for 4 chicken breasts)

    • 1/3 cup thinly sliced red onion
    • Juice from one lemon
    • Pinch of Kosher Salt
    • 1/2 teaspoon white sugar
    • 1 Tablespoon Olive Oil
    • 1/4 cup chopped cilantro
Place onions in bowl.  Pour lemon juice over onions and add salt and sugar.  Stir to combine.  Add oil and cilantro and stir well. Let sit for at least ten minutes.  Use as garnish.


The New Cauliflower

Cauliflower.  What a misunderstood vegetable.  It’s most frequently served raw with dip or smothered with cheese sauce.  In fact, if that’s the only way you usually eat your cauliflower you may feel pretty indifferent about the vegetable.  I know I always did, until I discovered the beauty of roasted cauliflower.  This easy technique will help get you started, but the mild flavor of cauliflower make it a great canvas for creativity in the kitchen.


Basic Roasted Cauliflower
Preheat oven to 450 degrees.

Chop cauliflower coarsely or divide into florets (for a finer presentation).  Make sure to dry the florets well after rinsing.
Toss with olive oil (about 2 tablespoons for a full head of cauliflower) and season generously with salt and pepper.
Roast for about 30 minutes (stir halfway through) or until it has reached your desired level of caramelization.

Enjoy as is, or try one of these suggested toppings.
– Lightly sprinkle with Parmesan
– Toss in a bit of sriracha for a kick
– Drizzle lightly with black truffle oil
– Garnish with finely chopped fresh herbs

Roast Chicken Primer

Do you like to make roasted chicken?  If yes, then you need to check out this article from Sunset Magazine, The Perfect Roast Chicken.  (If you answered no, well why not?)

One of my favorite comfort food meals is roasted chicken and I’ve tried a variety of cooking methods and was delighted to read that their best performing technique happens to be the easiest.

Well, you really should read the article, but here’s a quick summary.  Roast your chicken at 425 degrees.  Don’t flip it during cooking.  Don’t fuss with changing the temperatures during roasting.  Don’t bother with basting. Breast up, backbone up, do whichever moves you.  Buy free-range because of your beliefs, but not if you’re looking for better flavor.

Apparently, you just need to buy a big chicken, stick with 425 and let it go.

I tried this for the chicken pictured…it wasn’t a “big” chicken as the article suggested, but I was happy with the results nonetheless!

The Other Meatball

I like ground beef hamburgers, but that’s pretty much where my love for ground beef stops.  It especially does not appeal to me when it comes to Italian cooking.  I don’t like it in my lasagna and I’d prefer to have a meatball made out of pretty much any other ground meat available. In fact, until I started making meatballs with other meats I would have proclaimed that I didn’t even like them at all.  My husband is a big fan of both lasagna and meatballs, so I’m always looking for ways to satisfy both of our preferences.  These all veal meatballs were easy, delicious, and contain a rather short list of ingredients.  If you’ve never used veal for your meatballs, you should try it. You could also do half veal and half pork to bring the cost down, and the flavor depth up.

This recipe is adapted from Food and Wine Magazine’s “Veal Meatballs with Fried Sage Leaves” by Marco Gallotta.  I only made the meatballs and changed the preparation a bit,  but look forward to trying out the full recipe in the future.

Veal Meatballs

  • 2 oz. day old bread chopped into small cubes with the crusts removed (about 1 cup)
  • 3/4 cup milk
  • 1 lb. ground veal
  • 2 green onions, minced (white and green parts)
  • 1 garlic clove, minced
  • 1 teaspoon salt
  • 1/4 teaspoon freshly ground pepper
  • Butter and Olive Oil for searing

Preheat oven to 400 degrees.

Cover bread with milk and let soak for about 10 minutes.  Add the veal, green onion, garlic, salt, and pepper into a separate bowl. Squeeze the milk from the bread and add into the meat mixture.  Combine the mixture with your hands until all ingredients are well distributed.  Shape into meatballs of your desired size.  I went with larger meatballs and was only able to get 6 out of the pound of meat.

Toss the meatballs with flour so they are lightly covered.  Coat a pan with olive oil and a little butter and sear these on all sides on medium heat.  Transfer to oven and bake until cooked through.

Prosciutto and Orange Roast Pork Loin

While thumbing through the May issue of Bon Appetit dubbed “The Italy Issue”, I was inspired by a pasta recipe pairing prosciutto with orange.  I decided to take this combination and turn it into a luscious pork roast.  As is, the presentation is rustic as the prosciutto will shrink and curl and the orange zest is quite prevalent.  As a family supper, it’s fine this way, but of course care could be taken to make this more refined by starting with a finely grated zest.  You could also use more prosciutto to really encase the pork, but I liked the balance as is.  I would also tie the roast after wrapping it if making for company.  But really, the point here was that this experimental dish was excellent.  On a side note, with some added seasoning, the leftovers actually tasted great recreated into burrito bowls the next day.  Start with the mentioned quick brine to ensure success.

Quick & Easy Brined Pork Loin (Will work for 1.5 – 2 lb. loin)

  • Pork Loin Roast
  • 1/3 cup Kosher Salt
  • 2 cups warm water 
  • handful of ice cubes
  • 4 cups cold water

Microwave salt and 2 cups of water for 2 minutes.  Stir water until salt is dissolved and pour into container large enough to fit pork loin.  Stir in ice cubes and cold water until cubes have melted.  Place pork into container and refrigerate for one hour.  (At this salt to water ratio, I would not let this go for much more than an hour.)  Time this so you can remove this from the refrigerator about 30 minutes before you’re ready to cook the meat.  Rinse the meat and dry it well.

Prosciutto and Orange Roast Pork Loin

  • Quick Brined Pork Loin (1.5 to 2 lb.)
  • 1 lg. naval orange
  • 1/2 teaspoon whole peppercorns
  • 1 lg. garlic clove
  • l large (or 2 small) sprigs of fresh Rosemary blanched in boiling water for 15 seconds
  • 1 tablespoon olive oil
  • 1 tablespoon honey
  • 1/4 pound prosciutto (sliced thin, but not so thin that the pieces fall apart)
  • 2 tablespoon vodka
  • 1 teaspoon of butter

Pre-heat oven to 350 degrees.

Cut rind off orange and coarsely chop.  Juice the orange and reserve the juice.

In a small food processor, add peppercorns and process until mostly ground.  Add garlic clove and process until clove is well chopped.  Add in orange zest, rosemary leaves, olive oil, and honey.  Process for several minutes scraping sides as needed. Rub paste over pork loin until coated.  (You may not need to use 100% of the mixture depending on the weight of meat.)

Layout pieces of prosciutto onto cutting board and trim as needed.  Place loin onto prosciutto and wrap tightly.

Coat a cast iron skillet with a thin layer of olive oil and place on high heat.  Cook the loin presentation side down for 2 minutes.  Flip meat carefully and cook for another minute.  Transfer meat to oven and roast until meat registers 145-150 degrees (20-30 minutes). Remove from pan and cover with foil.  Let rest for 10-15 minutes before serving. Note: If you’re of the persuasion that pork needs to be well done, you’ll need to let this cook to a higher temperature.

While the meat is resting, deglaze skillet with reserved orange juice and vodka. Cook over low heat until the sauce starts to thicken (about 5 minutes).  Just before serving, pour any juice that has accumulated on the plate where the pork is resting into the pan and stir in the butter. For a richer pan sauce, add more butter of course.  Spoon over meat and enjoy.

Maple Peanut Butter Syrup and my thoughts on Pretzel Bread French Toast

My new favorite breakfast spot features a pretzel bread french toast with a maple peanut butter syrup which I have yet to order.  Having some pretzel bread on hand, I was inspired to try this at home.  The verdict: I don’t know that I would go out of my way to use pretzel bread for French toast again, BUT this easy syrup was keeper!

Maple Peanut Butter Syrup (per serving)

  • 3 tablespoons pure maple syrup
  • 1 teaspoon salted butter
  • 1 teaspoon chunky peanut butter

Combine ingredients in microwave-safe dish and microwave until butter appears to be melting. (For this individual sized serving, you’ll only need about 15-20 seconds in the microwave.)  Stir ingredients together and voila.  If I was making this for a group, I would probably do this on the stove and start with the butter and peanut butter and then slowly stir in the syrup.

I am daydreaming of using this over pancakes with some sliced bananas! Ironically, the syrup is one of the reasons I haven’t actually ordered this dish at the mentioned restaurant.  I’m a bit of a maple syrup purist and I didn’t think I’d want peanut butter messing with its delicious flavor, but this was a pleasant surprise.

As for my thoughts on the french toast, I used my typical 2 egg to 1/4 cup milk mixture with a dash of sugar and vanilla and the flavor was good, but the end result was a bit soggy.  I used a stovetop cooking method.  The bread was soft to start, so I gave it 10 minutes in a 375 degree oven to dry out, but that wasn’t enough.  If I did this again I would be sure to start with truly stale bread, use less milk, and only give my bread a brief dip in the mixture.

Browned Butter & Bourbon Chocolate Chip Cookies

Who doesn’t love fresh baked chocolate chip cookies?  This recipe incorporates bourbon and browned butter which give the cookies a subtle, but deeper flavor than the average cookie.  This recipe can easily be doubled to use a full-bag of chocolate chips, but after frequently finding myself halving cookie recipes, I figured I would just start with this in small batch form.

Browned Butter and Bourbon Chocolate Chip Cookies

  • 1/2 cup (1 stick) of salted butter
  • 1 tablespoon bourbon
  • 1/2 cup brown sugar
  • 1/4 cup white sugar
  • 1 egg
  • 1 1/2  teaspoon pure vanilla
  • 1 1/4 cup all purpose flour
  • 1/8 teaspoon salt
  • 1/2 teaspoon baking soda
  • 1 cup semi-sweet or darker chocolate chips (I like Ghirardelli)

Preheat oven to 375 degrees.

Place butter in saucepan over low heat. When stick has melted, add bourbon.  (It is very important to wait for the butter to melt or you might have a fire in your pan!) Cook over low heat, stirring regularly, until mixture becomes golden brown and foamy.  Pour into dish and let sit.  You should use the brown bits that will develop in the butter.  Combine dry ingredients (flour, salt, and baking soda) in medium bowl while waiting for butter to cool.

Once mixture has cooled for about ten minutes, beat butter for 1-2 minutes and then cream with sugars until well blended and light. (It is ok for the butter to be warmer than room temperature, but it cannot be so warm that it would cook the egg in the mixing bowl.)

Then beat in egg and vanilla over low speed until just combined.  Slowly  add dry ingredients to wet ingredients and combine.  Add in chocolate chips and  allow mixture to cool in the refrigerator for 20-30 minutes.

Scoop dough and place on a parchment lined cookie sheet (see note). I use a tablespoon “cookie scoop” and roll the scoop in a circular motion to create a ball. Resist the urge to literally roll into smooth balls.  Gently pack the cookies if you need to tidy them up, but when you start with a smooth ball, the cookies will not develop the beautiful texture a chocolate chip cookie should.

Ahh…and here’s where things get tricky. It is quite difficult to describe when to take a cookie out of the oven to achieve a soft cookie. I bake these for 7-8 minutes maximum.  I look for the outside of the cookie to be set and want to see a bit of golden brownness to peek out from the bottom edges, but the cookie will still be quite soft.  I do not let them sit on the pan for more than a minute after removing from the oven, I gently transfer my piece of parchment onto the counter and give them some time to set-up.  Once your cookies turn “golden brown” in the oven, they’ll still be tasty, but they’ll likely also be crunchy.   An extra minute may be all it takes to ruin your chances of a soft cookie and I’m of the soft cookie loving persuasion.

The little bit of extra effort will result in an extra special chocolate chip cookie that is sure to please.  These also taste great with nuts…I recommend pecans. Yum!

NOTE: Use a dark, non-insulated cookie sheet!  Insulated cookie sheets will still produce tasty cookies, but your cookies will spread and will need to be cooked longer.  I had never used an insulated cookie sheet before and when I tried one, to my dismay, it produced totally different looking cookies than my trusted worn in pans. Of course, they were still gobbled right up.

Cooking with Abandon–Bouillabaisse or Something Like it

For the sake of full disclosure, I had to stage the above photo with leftovers from our delicious seafood stew.   I had a friend over for a girls night and considering the fun we were having making this combined with a general lack of recipe following or formal documentation of the added ingredients, I wasn’t sure if it would make a good post.  But…this was just so good that I had to give it a nod.

I’ve made Cioppino a few times, loosely following a recipe and found it enjoyable. This time around, I really wanted to explore its French relative, Bouillabaisse. I am in no means an expert on the topic, but my overall findings showed a greater emphasis on fresh herbs over a spiciness factor found in Cioppino.

Here’s what I did for 2 people…there was just a little leftover as shown, but of course the most prized seafood (King Crab/Scallops) is clearly missing from the photo because there were no leftovers of those!  I think the fun of making a seafood stew is using what you have and tasting as you go, so this is more of a guideline than a true recipe.  The one thing I would not skip though is the use of orange.  I normally would have used lemon, but WOW, the flavor from the orange was amazing.

In a large pot, I combined a small pat of butter with a little olive oil.  To this, I added the following:

  • 1 onion sliced (I used red onion)
  • 1 fennel bulb sliced (reserve the fronds)

I sautéed these over low heat for a good 15-20 minutes, being careful to keep them from browning.  Once very soft, I added:

  • 2 finely chopped garlic gloves
  • 1/2 bottle (about 1 1/2 cups) of dry white wine

Bring the mixture to a simmer and let this cook until the wine has reduced by about half. To the wine, I added:

  • about 1 tablespoon each (all chopped & fresh): Fennel Fronds, Thyme, Rosemary, Parsley, Basil
  • scant dash of cayenne pepper
  • 1/4 tablespoon saffron threads
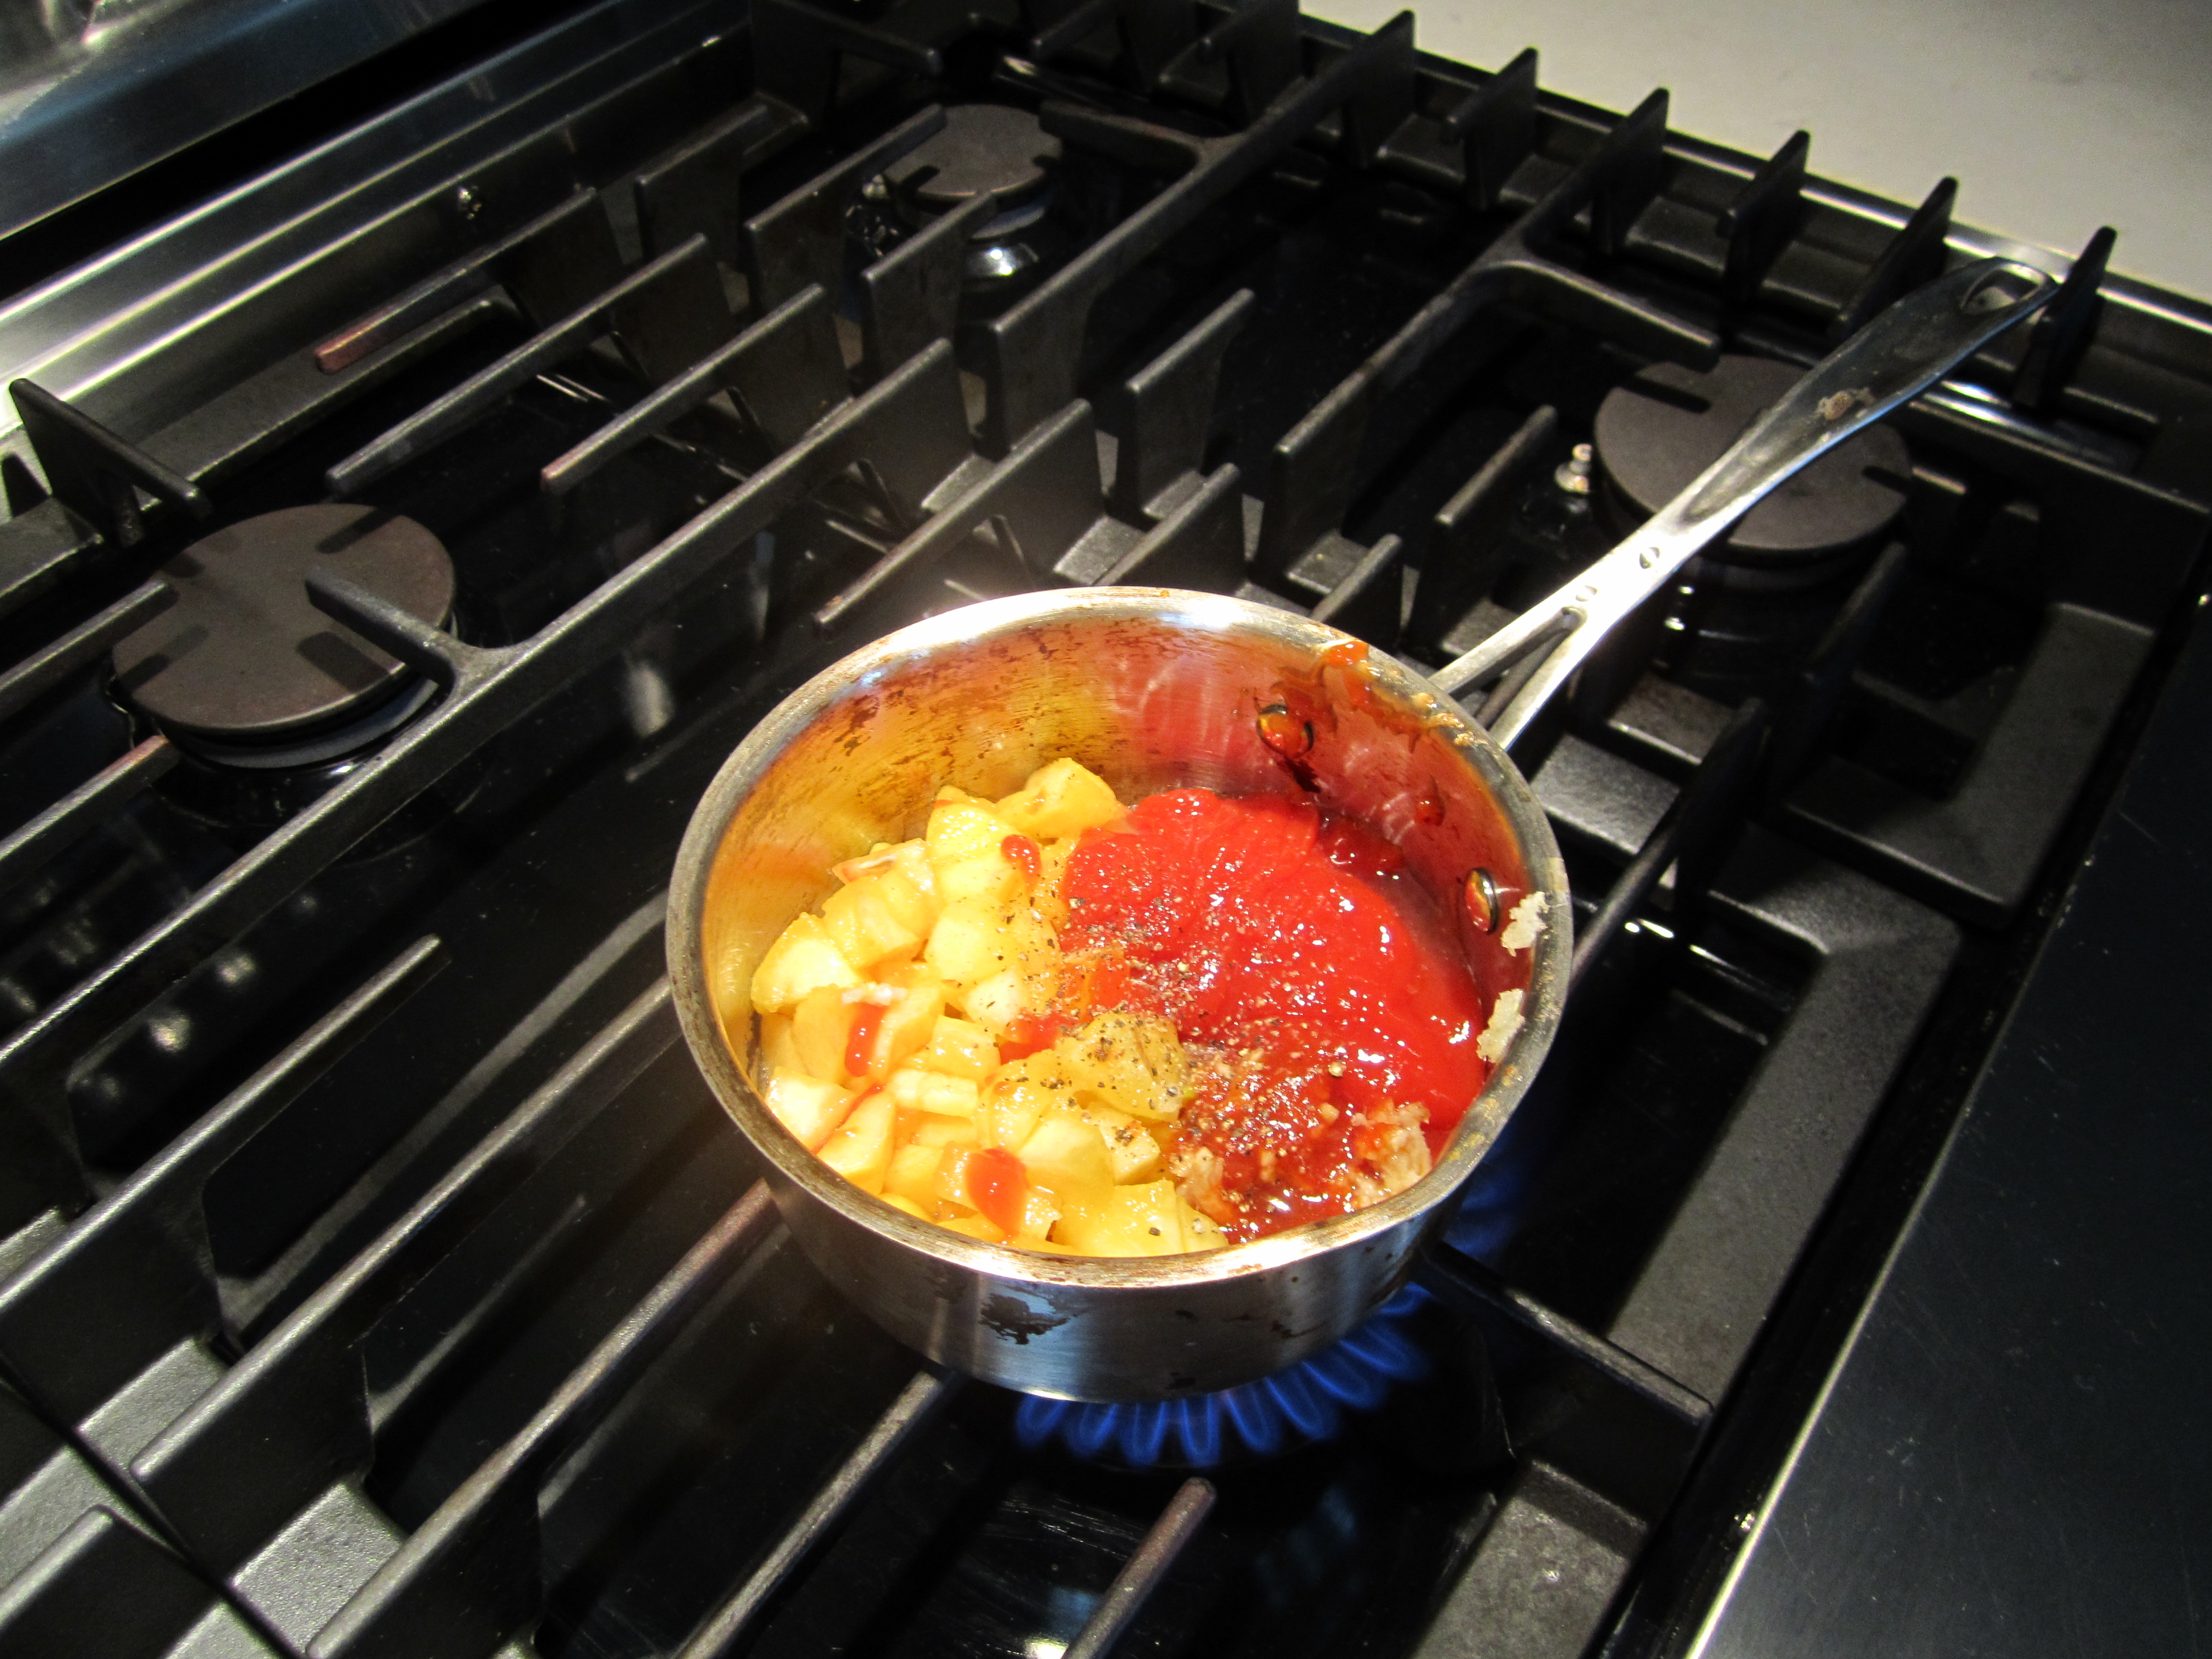
  • 1 cup 1/2″ cubed red potatoes (red Fench fingerlings were on sale, so that’s what I used)
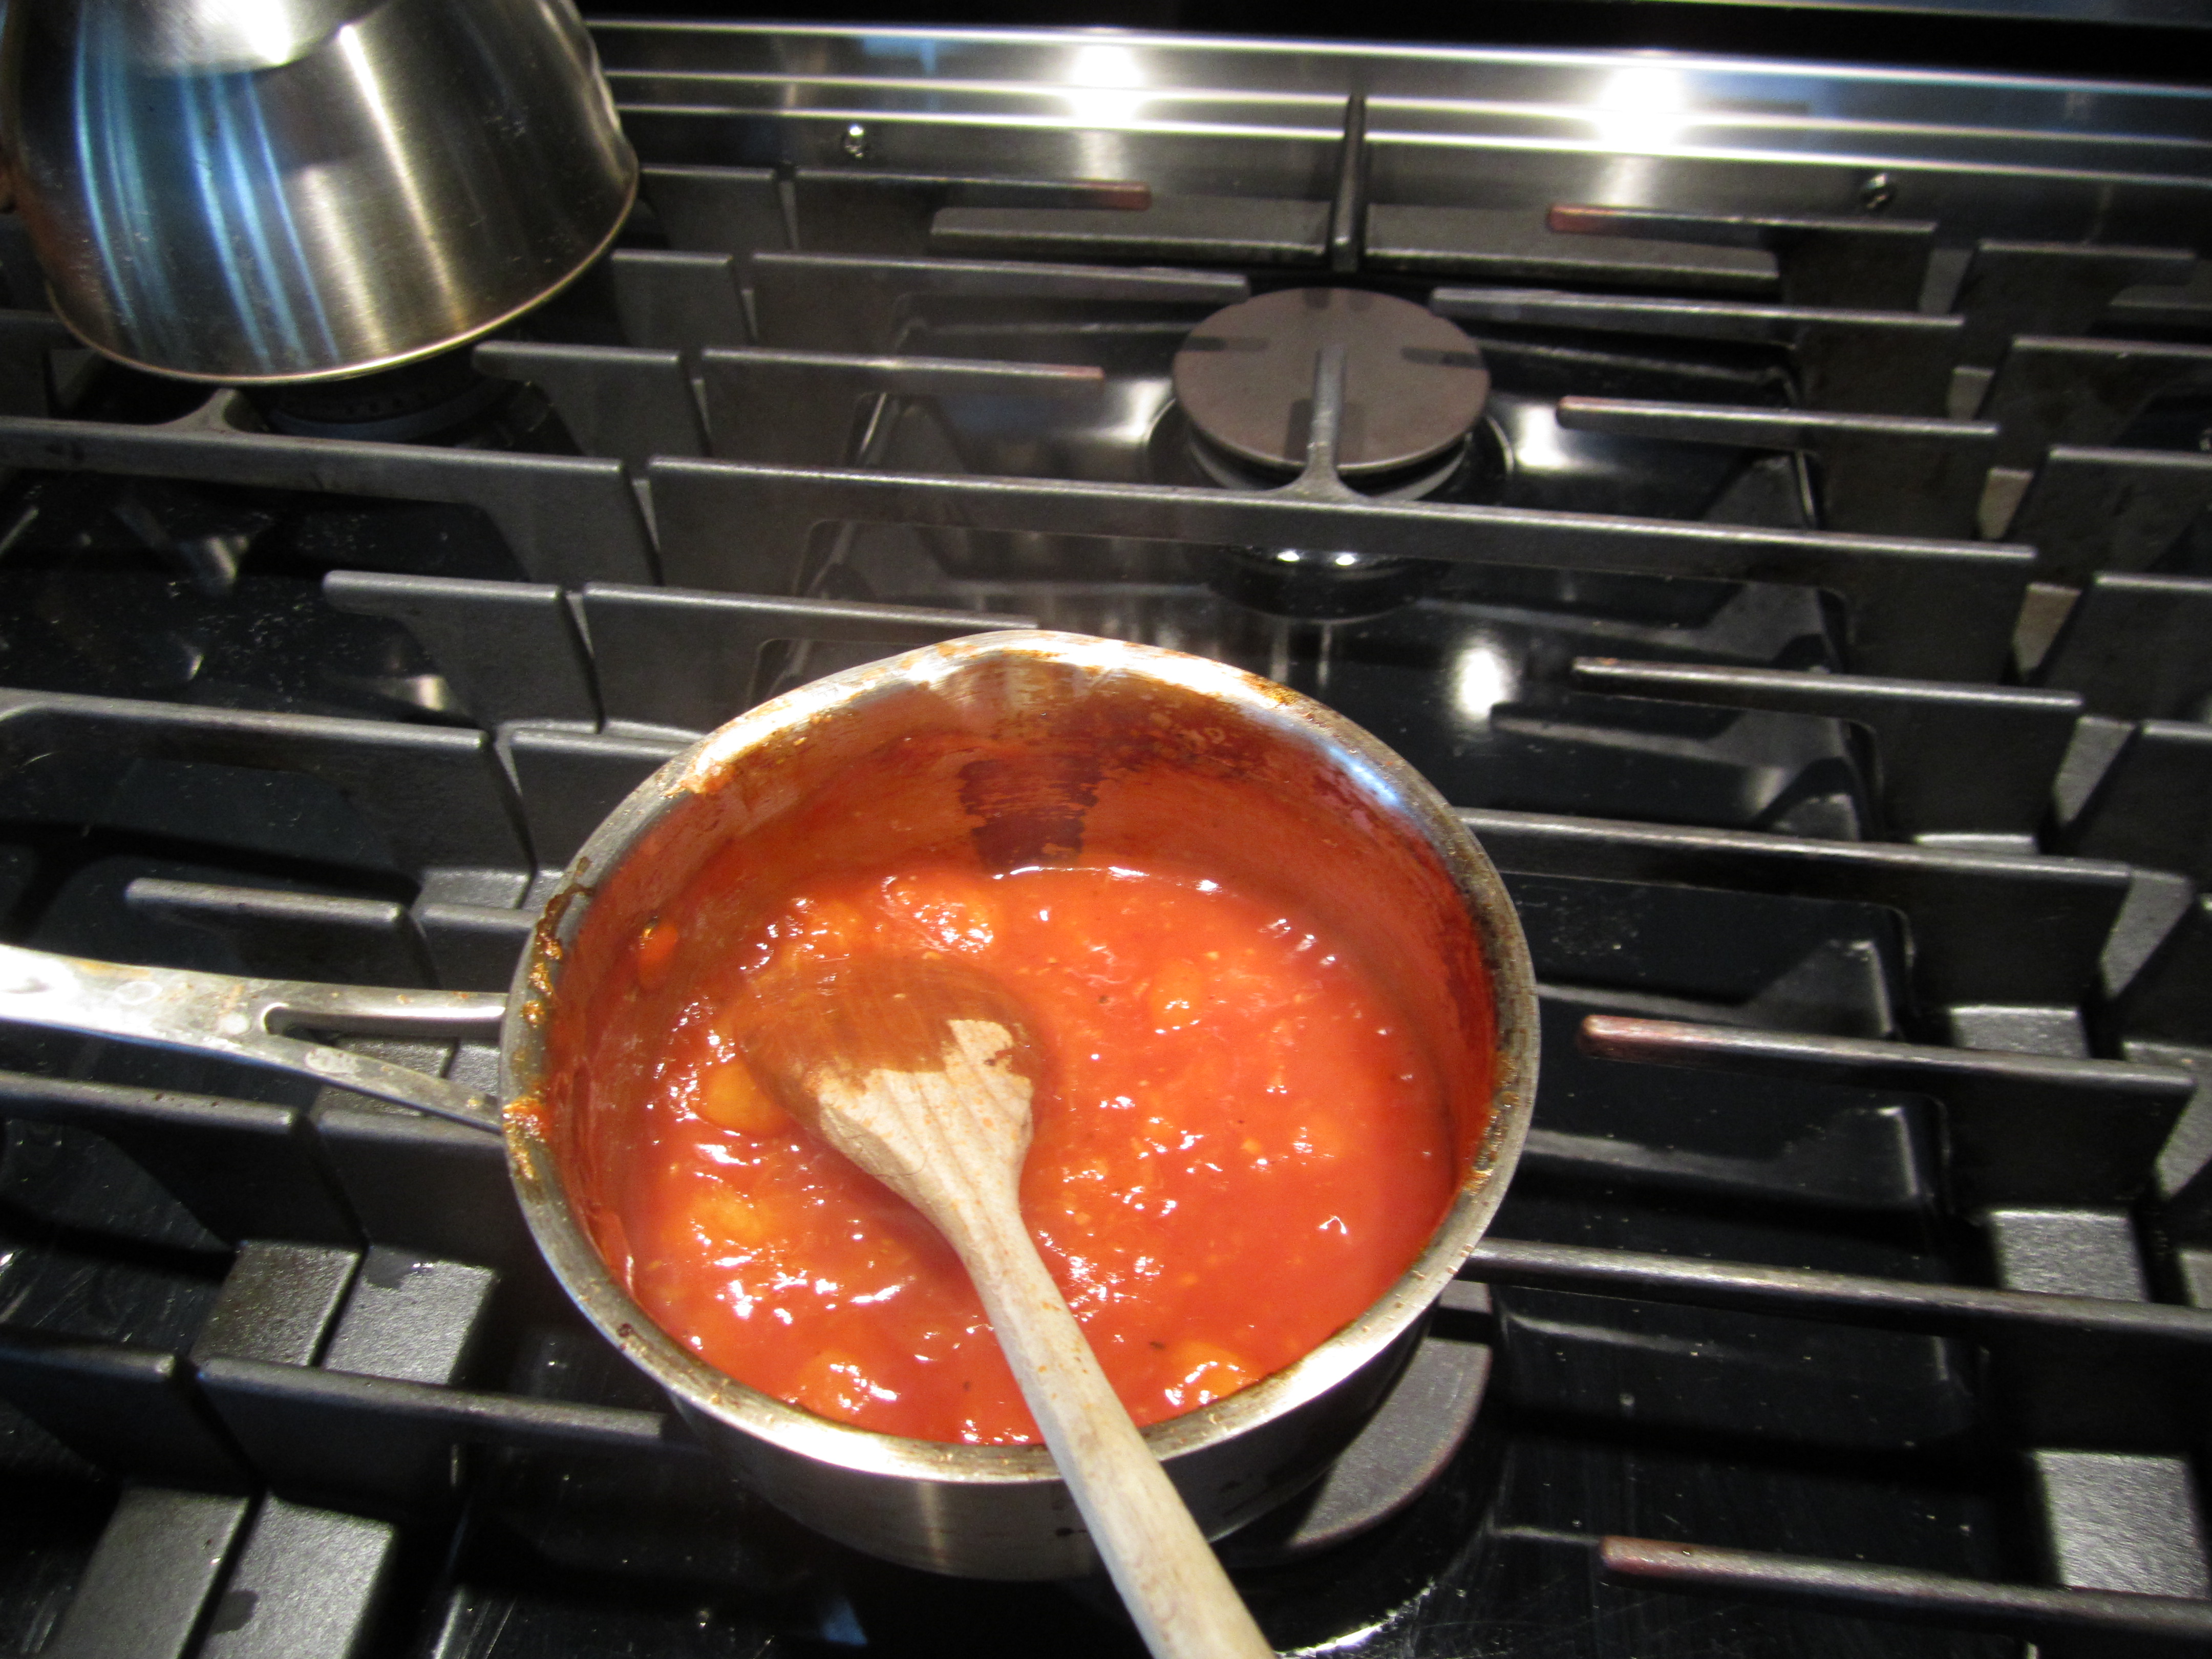
  • 3/4 cup peeled and seeded* diced tomatoes
  • juice & peel from one orange (removed most of pith from peel and added in strips to pot)
  • 1 bay leaf
  • 4 cups of liquid–I used a half and half combination of bottled clam juice** and seafood stock that had been homemade by my friend. (These proportions can be changed or swapped with vegetable or chicken stock, although of course the end flavor will vary depending on the liquids used.)
  • Several generous turns of the pepper mill
  • Sea Salt to taste

This is the time to really taste the broth and season as needed to adjust the flavor as you wish.  When you are happy with the flavor, throw on the lid and simmer for 10 minutes.

Now…the stunning seafood***.  This what I used, but of course this should be a combination of your favorite seafood and/or what’s available.  Once you get to this point, your seafood will cook very quickly, so don’t add it until you’re almost ready to eat.

  • 1/2 pound cod (cut into 1 inch cubes)
  • 1/2 pound mussels (scrubbed and debearded)
  • 1/2 pound shrimp (peeled and cleaned)
  • 1/4 pound King Crab (thawed and cut into 1 to 2 inch lengths)
  • 1/3 pound sea scallops

Start with the fish and let that simmer for about 2 minutes.  Add in the mussels and give it another 2 minutes.  Then add the shrimp and crab and give it another few minutes until the shrimp are done and the mussels are open.  Given the loveliness of a perfectly seared scallop, I seared those over high heat separately and added to the top of the bowl.

I served this with some crusty bread and a crisp, yet rich chardonnay**** courtesy of my sous chef, dining companion, and dear friend. Bon Appetit!

* To easily peel a fresh tomato, make shallow slits into the tomato in an X pattern–plunge it into boiling water for 10-15 seconds and then immediately transfer to a bowl of ice water.  The peel will come right off and you can squeeze/rinse the seeds right out. Of course, you could use some canned tomatoes as well.
** I like Bar Harbor brand clam juice.
***Mitchell’s Fish Market (yes, the chain restaurant) sells retail–this was my first order from them and it won’t be the last!
****We drank Alma Rosa Chardonnay Santa Barbara 2008 and it was delicious.