I absolutely love the flavor of a perfectly ripe banana atop an ice cream sundae or in a milkshake, but I had never tried making banana ice cream. I thought a cornstarch based ice cream would be perfect to let the banana flavor really shine through, but I couldn’t find the right recipe. I often start with Mark Bittman’s cornstarch ice cream recipe as a base, so that’s where I began with this, but tweaked it to incorporate the wonderful flavor of ripe bananas. This tastes great as is, but I also enjoyed it with a heavy dose of cinnamon and several tablespoons of bourbon in a recent batch.
Eggless Banana Ice Cream
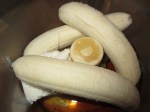
- 3 Medium Bananas (eating ripeness; not overripe)
- 1 T. Pure Vanilla
- 3 oz. Cream Cheese
- 1/4 cup Pure Maple Syrup
- 2 1/2 cups Half & Half
- 1/4 cup White Sugar
- 1/4 cup Brown Sugar
- pinch Kosher Salt
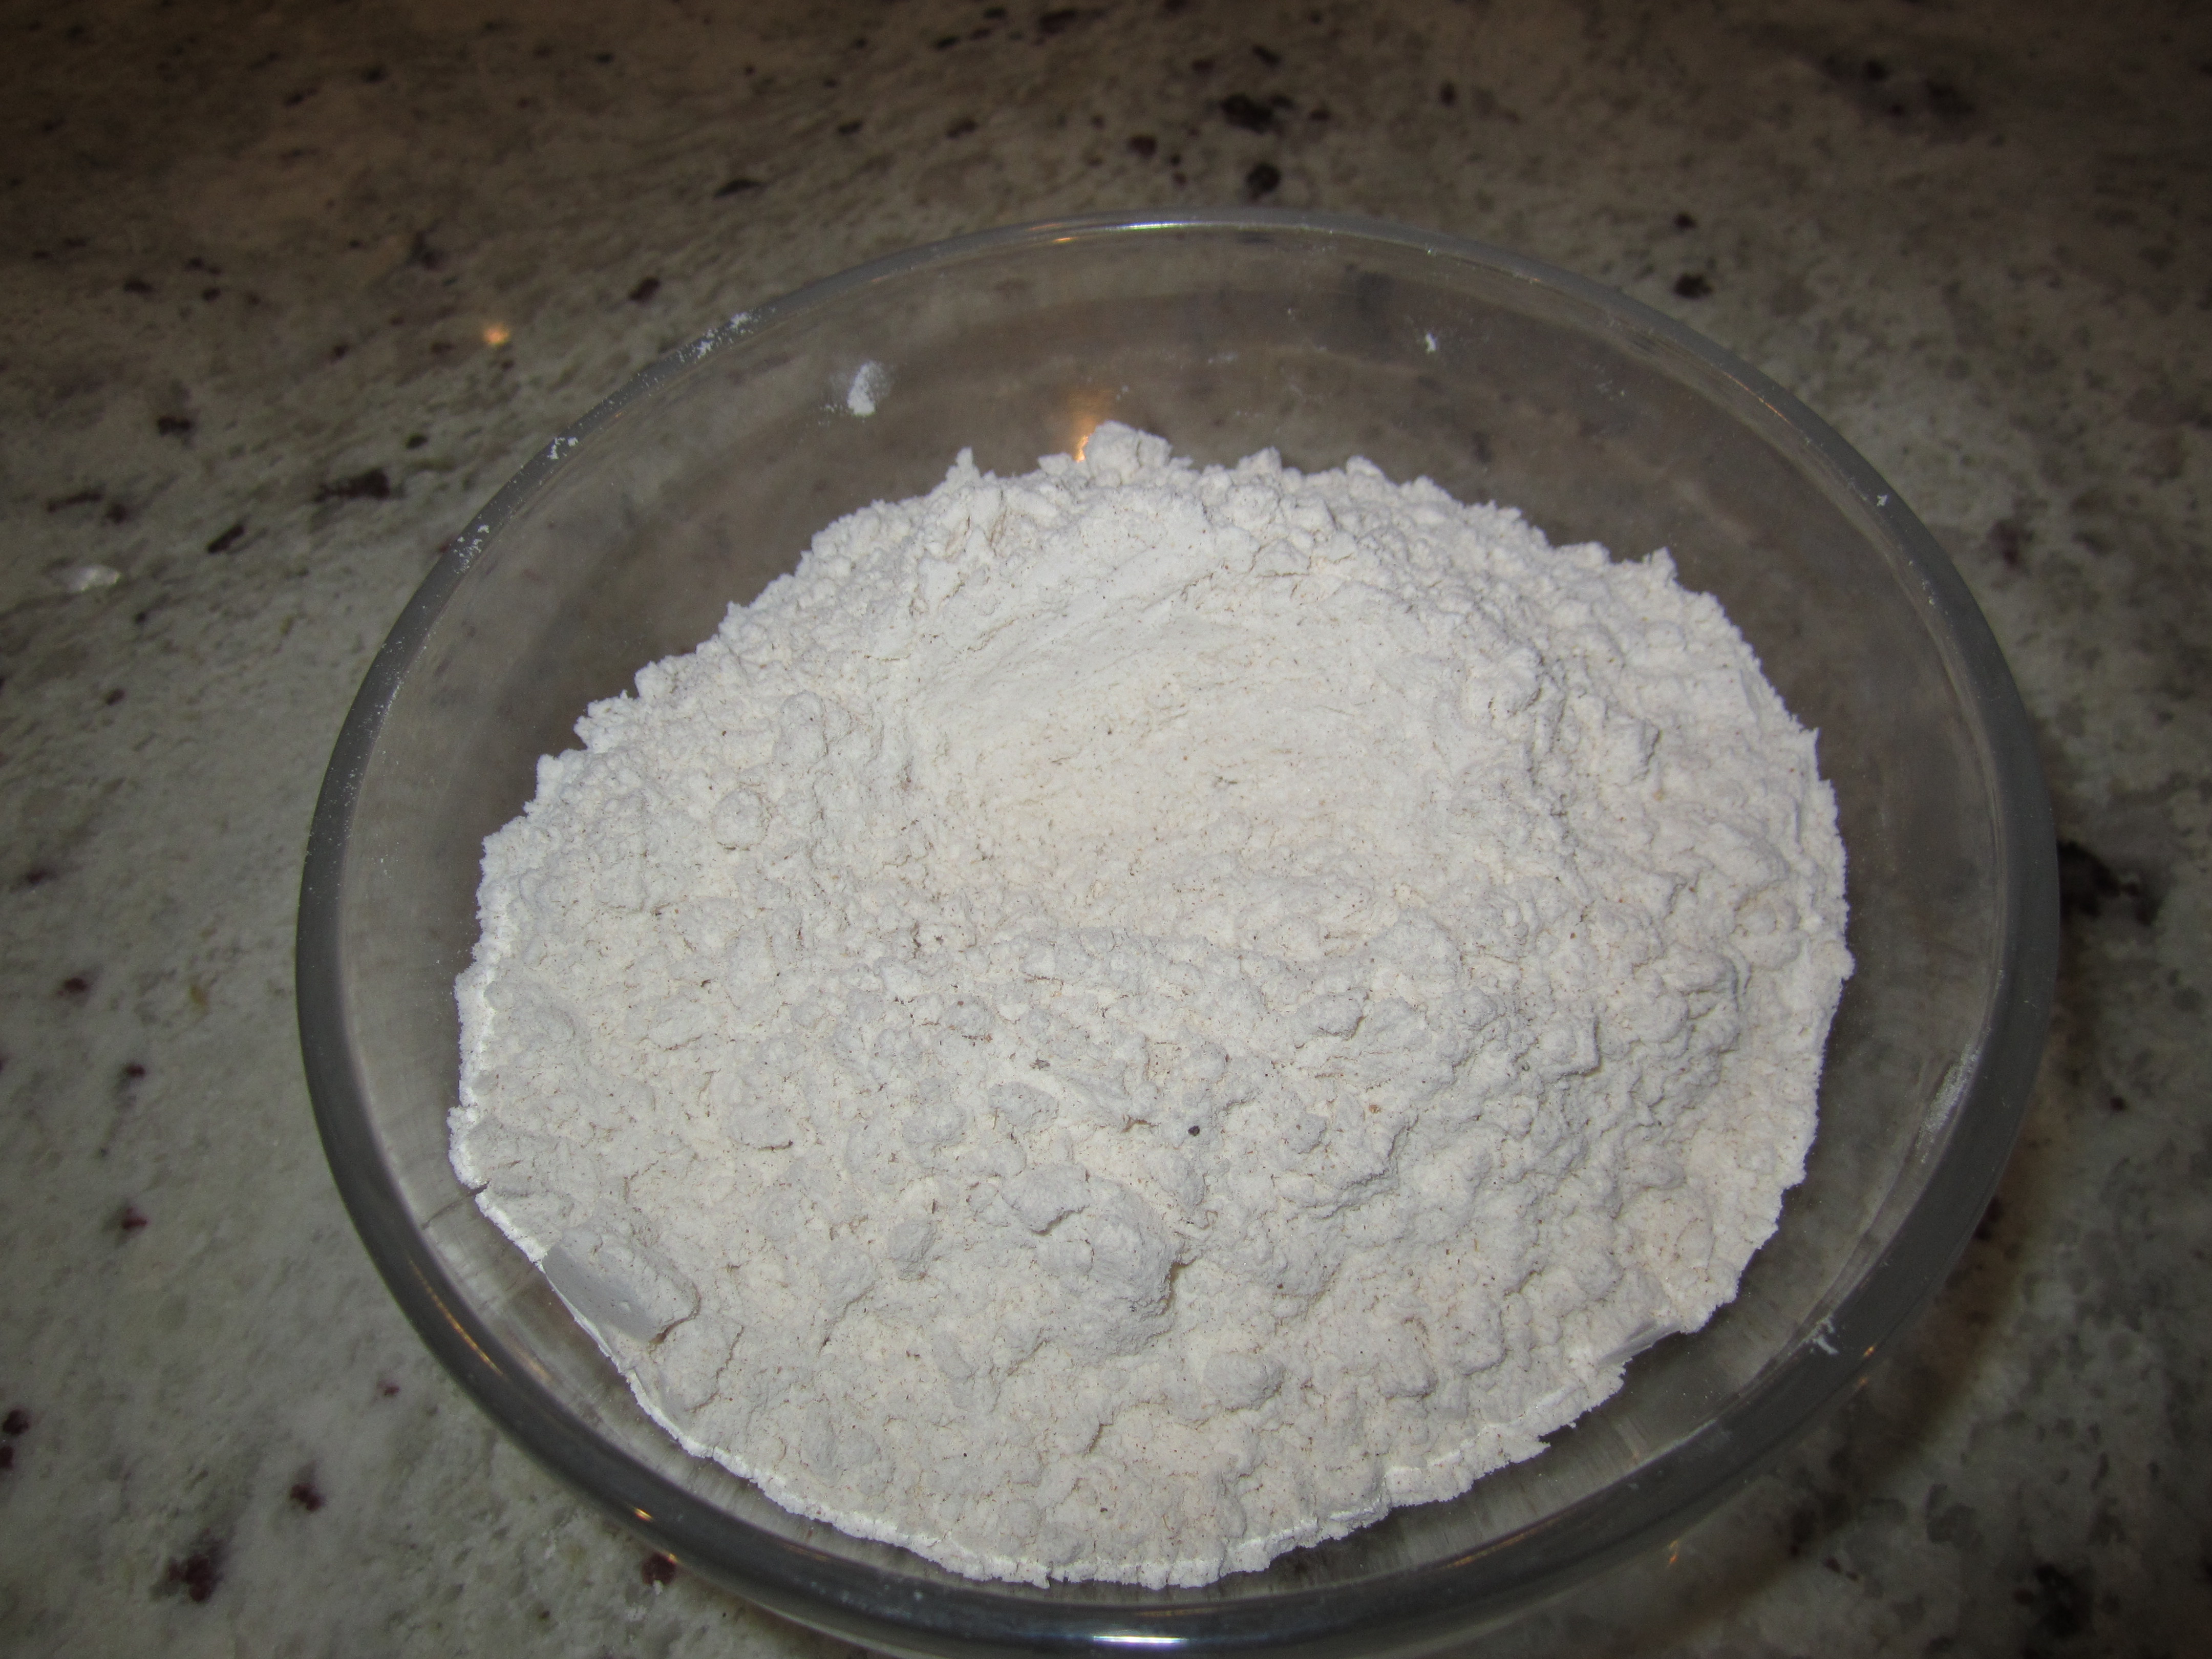
- 3 T. Cornstarch
First, add bananas, vanilla, cream cheese, and maple syrup to food processor and puree until smooth.
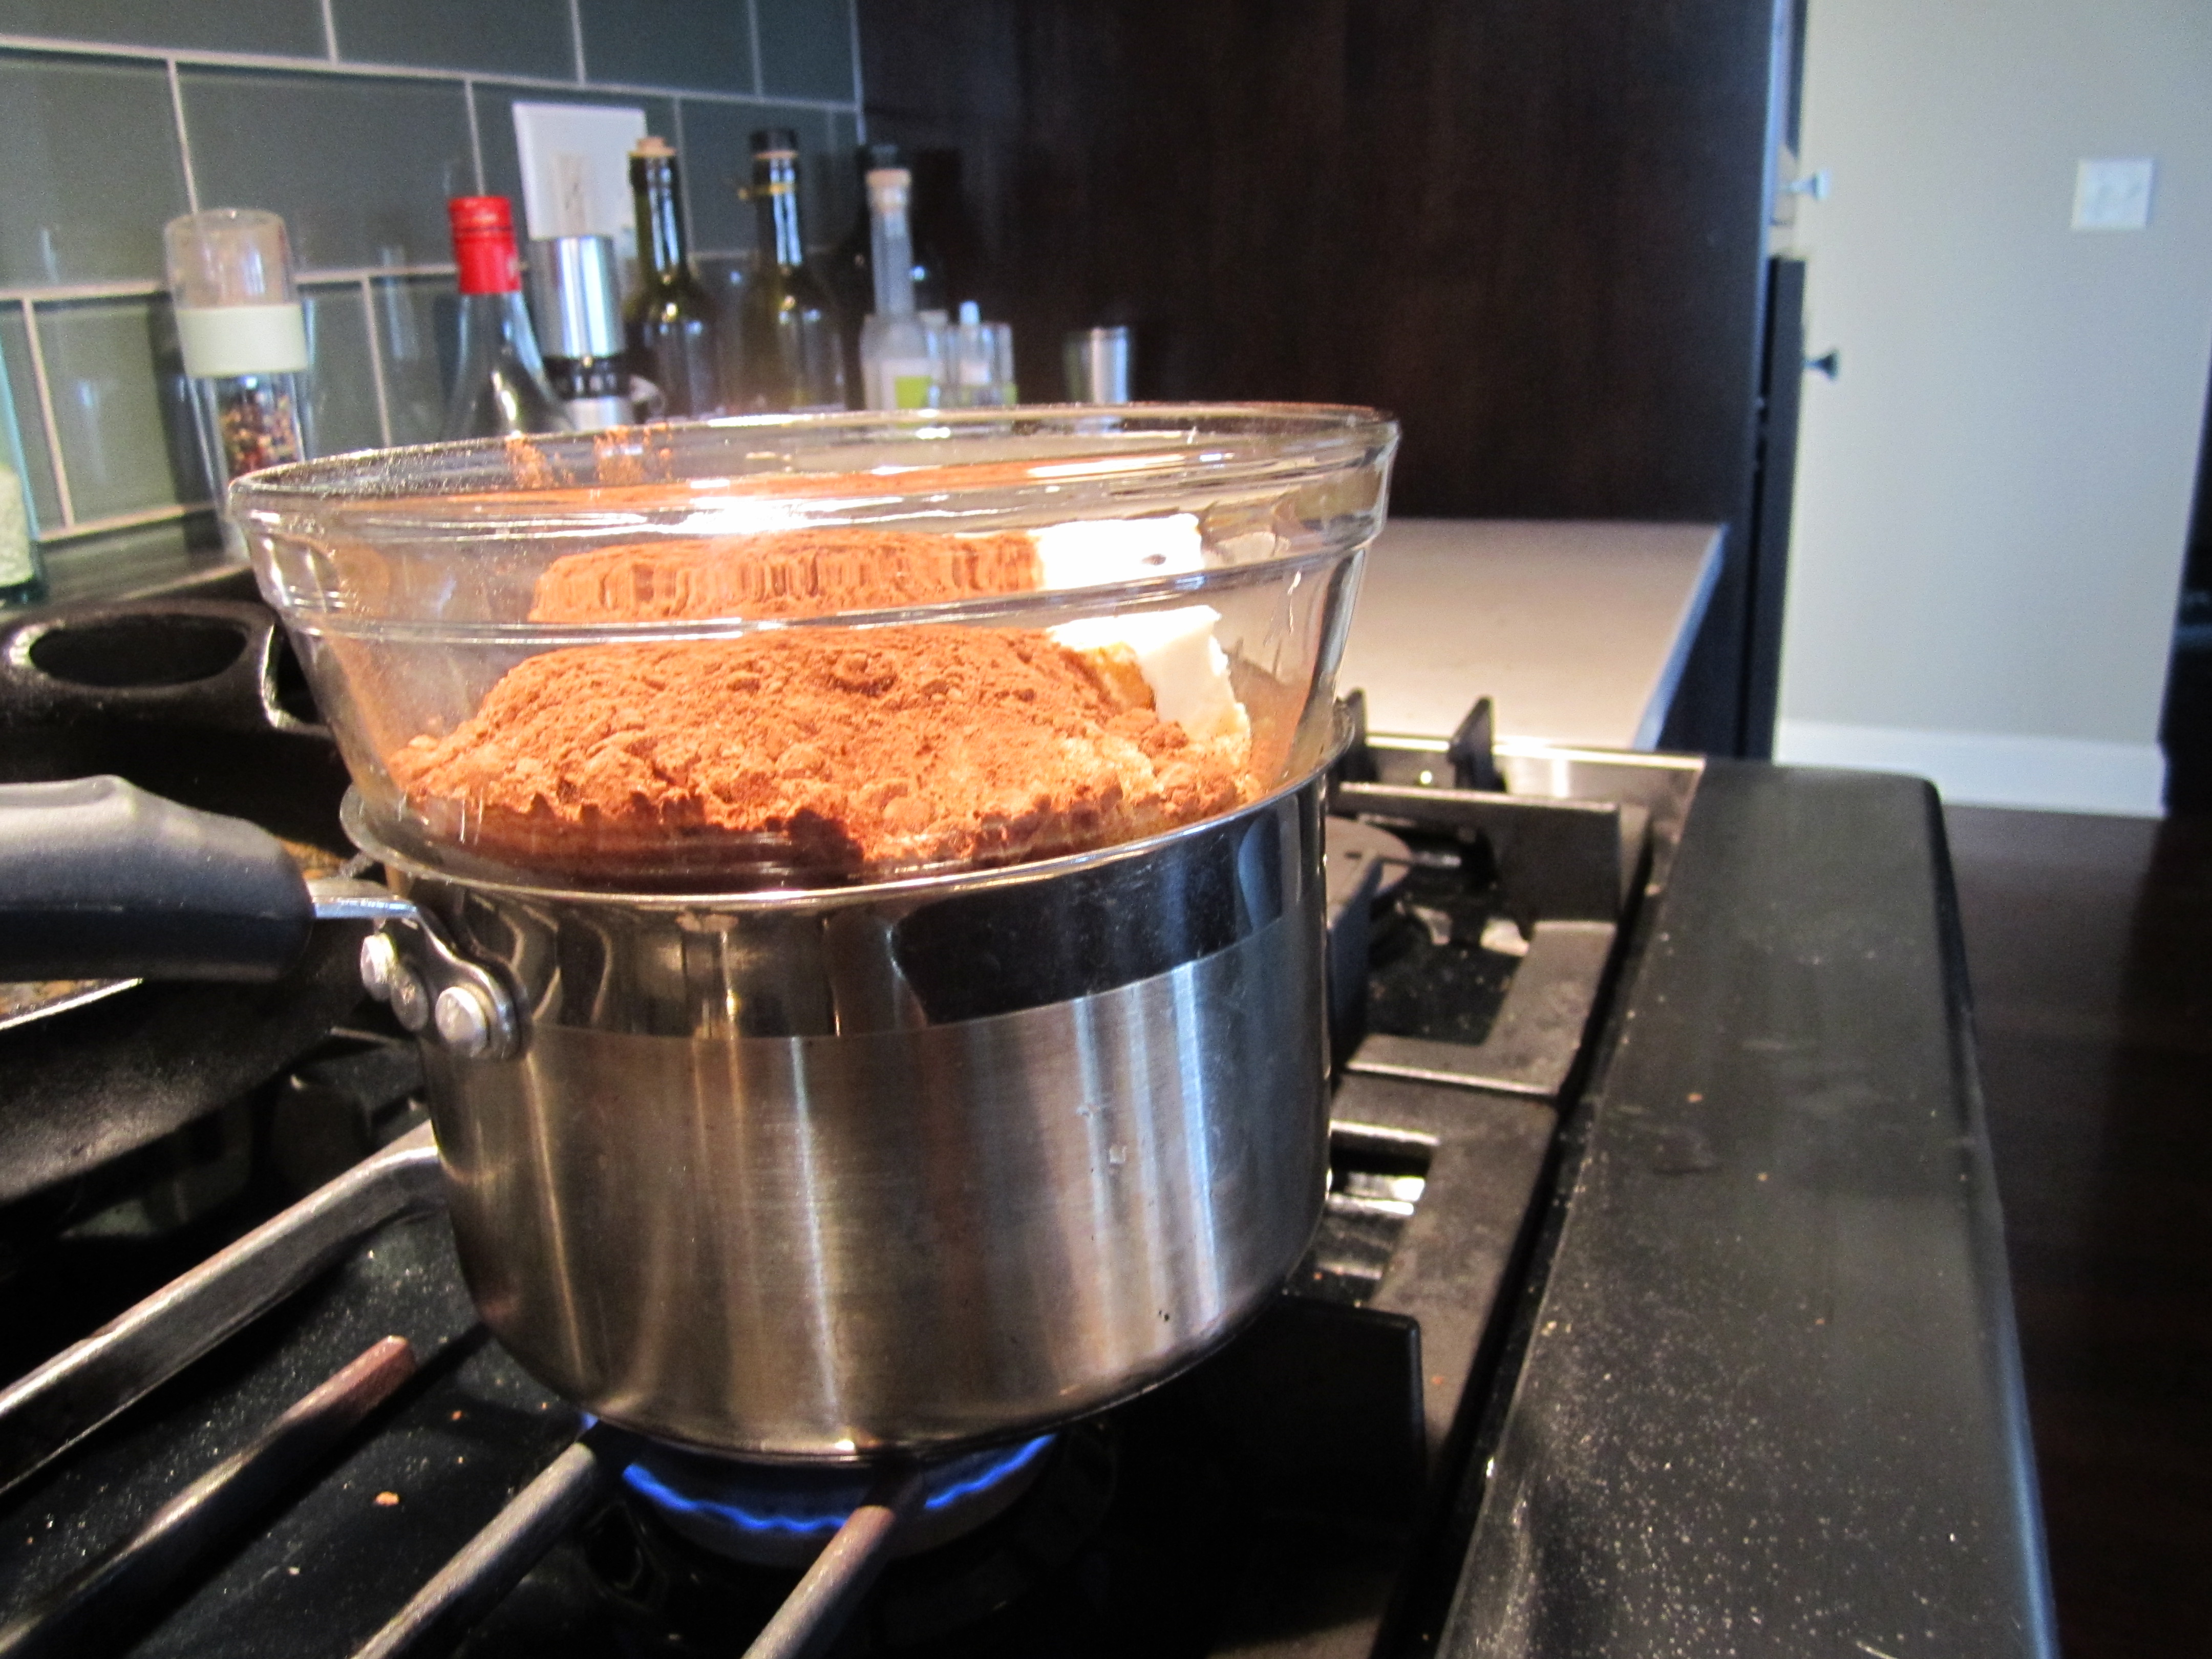
Then, put 2 cups of the half & half into a saucepan over medium heat. Add sugars and salt, then stir. In the meantime, combine the remaining 1/2 cup of half & half with cornstarch and stir until smooth. Once the half & half and sugar mixture is hot, pour in cornstarch mixture and whisk constantly for 3-4 minutes until the mixture is smooth and thick. Turn off heat and whisk in pureed banana mixture.
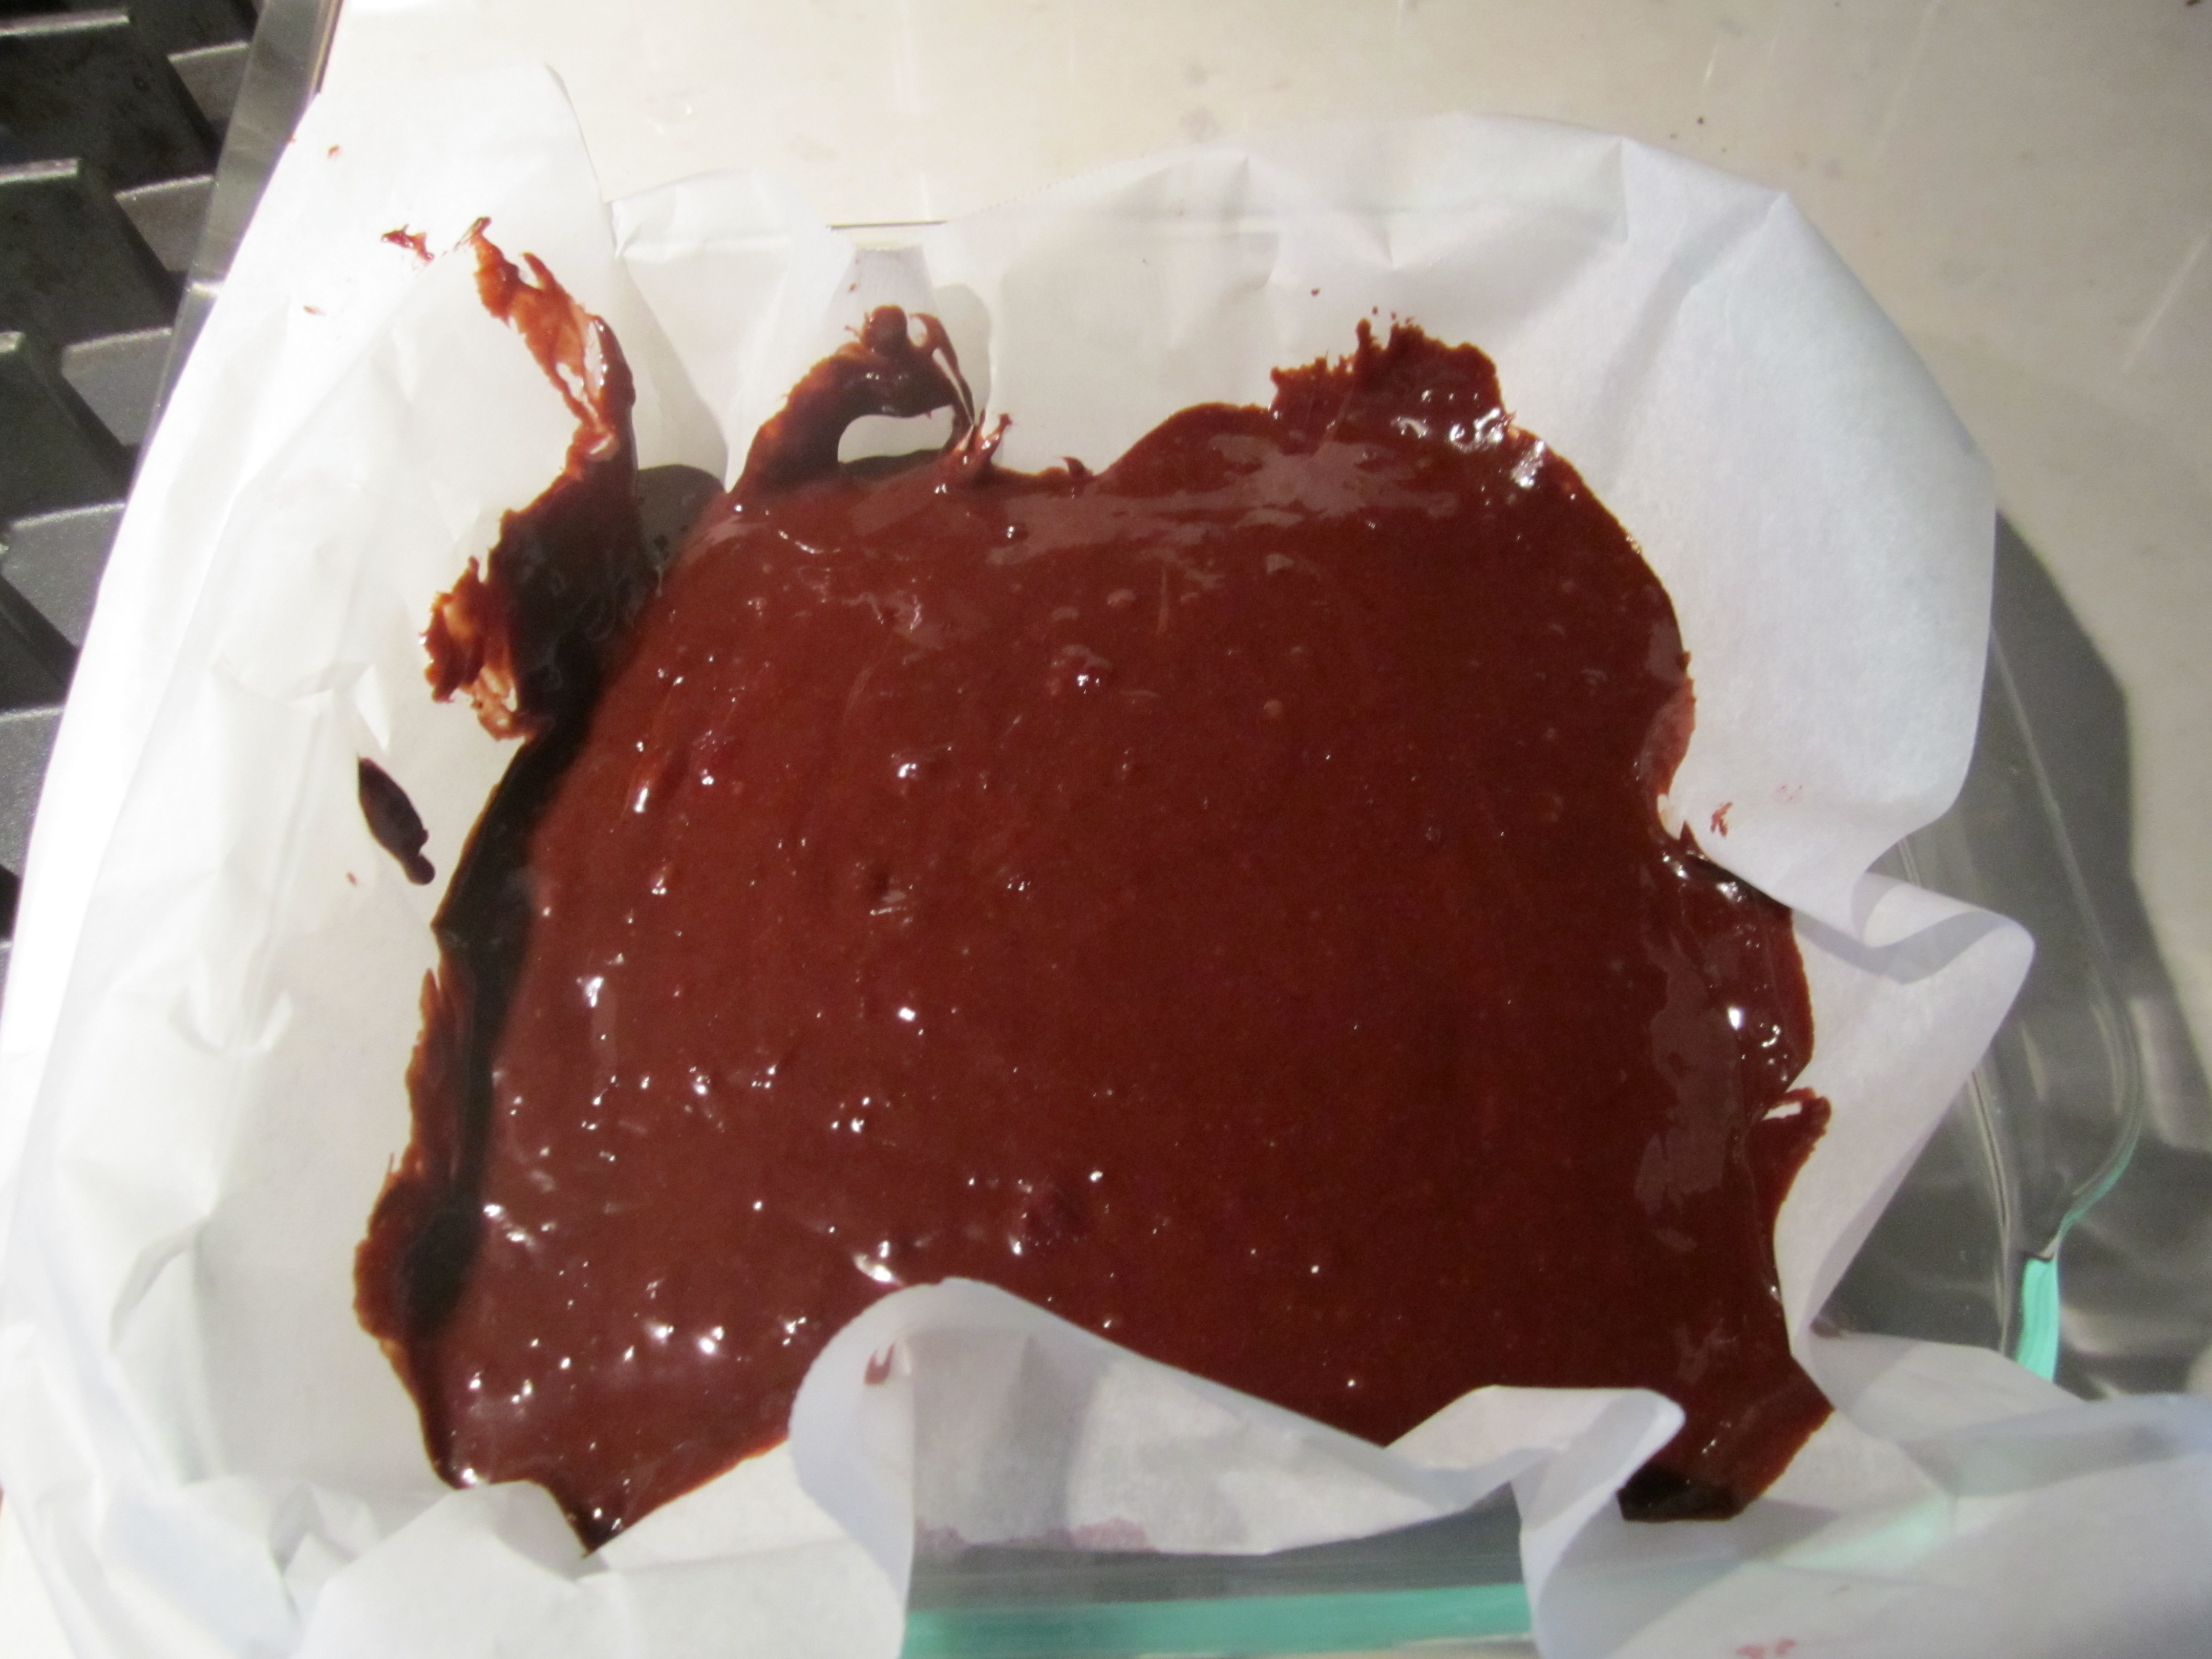
Once combined, force the mixture through a sieve and refrigerate until cold before processing in your ice cream maker.
-

- Bananas!
-
- Banana Puree Ingredients
-

- Banana Puree
-

- Add cornstarch mixture
-

- Thickened Cream Base after cooking
-

- Force through Sieve
-
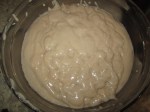
- Base before Cooling
-

- Cooled Base
-

- Ice Cream Churning
To speed up the cooling process, you can add the ice cream base to a gallon size bag and either put it in an ice bath or freeze it for about an hour. If you do put the bag into the freezer, just be sure not to forget about it!
I was impressed with how this turned out and am happy to share it with you. This will be a go-to at our house. While still indulgent, the bananas and absence of eggs make this slightly lighter than most homemade ice cream recipes. As you can see, I served this with some graham crackers, pecans, and dark chocolate in the featured photo. This combination was great, but I am thinking some fresh sliced strawberries will be my next topping for this tasty frozen treat!